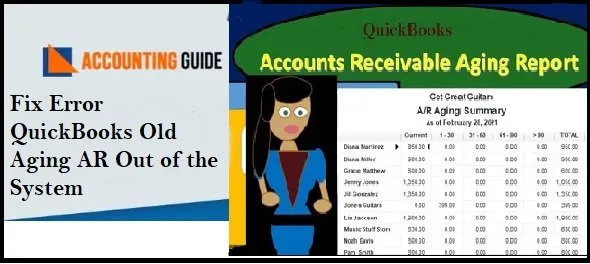
If you are running a business, you would know that you need to match the journal entries made by your CPAs (Chartered Professional Accountants) with your AR ledger. This is an important activity that keeps your account receivables in proper order by matching payment and invoice . it also helps you discard files with zero balance. If you leave unmatched items on the Account Receivables report , it may lead to confusion.
If you are fairly new to QuickBooks and are not sure about how to send QuickBooks old aging AR out of the system, you are at the right place. In this blog, we would help you learn how to clear out old accounts receivable in QuickBooks.
Step to Clear QuickBooks Old Aging AR Out of the System
Total Time: 15 minutes
Method 1:
One of the fastest ways of clearing old AR out is to create journal entries and pay it off. Then you need to make a clearing account, without any opening balance. Please follow the steps below
🔷 Open QuickBooks
🔷 Navigate to the left panel and click the Accounting tab
🔷 Go to the Charts of Accounts
🔷 Click on New
🔷 Click on Cash at bank and in hand
🔷 Select an Account Type
🔷 Assign a suitable name to your clearing account.
🔷 Make sure not to enter anything in the Balance field.
🔷 Click the Save and Close button
Method 2:
After creating a zero balance clearing account, the next step is to make a Journal Entry. Here are the steps to follow-
🔷 Open QuickBooks.
🔷 Click the + icon.
🔷 Select Journal Entry.
🔷 Add the particular Accounts Receivable (AR) from which you are moving the money.
🔷 Add the clearing account .
🔷 Click the Save button
Method 3:
The next step is to apply the journal entry just created to the existing balance. Here is what you should do-
🔷 Open QuickBooks
🔷 Click the Expenses tab.
🔷 From the top menu, find out and click on the Suppliers tab
🔷 Choose the name of the supplier.
🔷 Search for the particular Bill to pay.
🔷 Go to the top-right corner and press the Make Payment tab.
🔷 The Bill Payment window will open up on your screen.
🔷 Go to the Credits section and locate the Journal Entry tab.
🔷 Select the Journal Entry and Bill to link.
🔷 Press the Save and Close button to confirm your action
Read Also-: How to Fix QuickBooks Balance Sheet Out of Balance in Accrual Basis
Conclusion:
We hope the sequential steps mentioned above have helped you a great deal to clear out old accounts receivable in QuickBooks. If you are still experiencing any difficulties in carrying out the above-mentioned steps or if you have any more queries, we would recommend you to speak to some of the authorized QuickBooks experts.
💠 Frequently Asked Questions 💠
How to Create a Clearing Account in QuickBooks Desktop?
▪ Open QuickBooks
▪ Navigate to the left panel
▪ Go to Lists
▪ Go to the Charts of Accounts
▪ Click on Accounts
▪ Click on New
▪ Choose Bank
▪ Click Continue
▪ Assign a suitable name to your clearing account
▪ Press the Save and Close button to confirm your action
How to Reverse Journal Entries in QuickBooks Online for Overpayments?
Please follow the steps below-
▪ Open QuickBooks online
▪ Navigate to the upper right section
▪ Clicking on the Search tab.
▪ Search for the journal entry already created and you want to reverse
▪ Click and open it.
▪ Click on the Reverse tab
▪ Tab on the Journal Date and edit it.
▪ Make sure that the date of entry is at least one day after the original journal entry date .
▪ Press the Save and Close button to confirm your action
