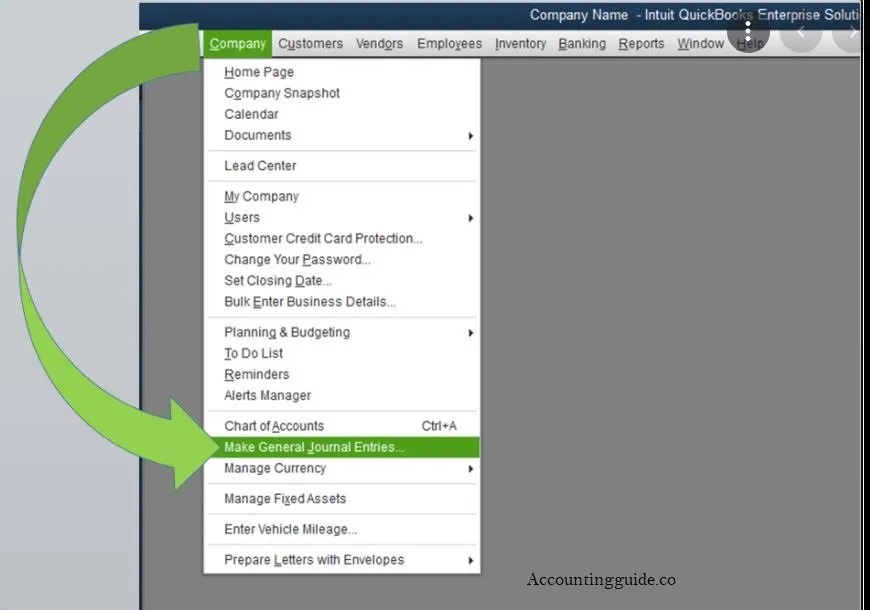
A general ledger acts as a record-keeping system to store, sort, and outline the financial transactions of the company. It contains the journal entry, debit & credit columns, a description, and a balance. Use the account balances in the GL to make the trial balance. You can even customize the general ledger, import and export the general ledger in QuickBooks. Here is the guide that comprehends the procedure to import general ledger in excel format to QuickBooks.
Why do you Need General Ledger on QuickBooks Desktop?

The principal book is named General Ledger comprises specific accounts to display the account-based transactions. The GL allows you to know the outline of all the transactions placed in data order. For complete details you may require that importing the general ledger into the QuickBooks Desktop in excel format is pretty easy. You need General Ledger importing to showcase the reports during audits or for taking financial decisions. It makes it easy to share account-specific details.
How to Import General Ledger into QuickBooks Desktop?
The system lets you import many types of transactions and lists into the account. Also, you can use several file formats to import the information like CSV, IIF, and MS Excel files. There are two methods to import General Ledger. One technique lets you import the data using the Excel sheet in QuickBooks. And another technique needs you to install the QuickBooks import Excel & CSV tool kit. This in turn results in assisting you to import the transactions in CSV format. Here is how you can import General Ledger into QuickBooks Desktop:
Total Time: 15 minutes
Method 1: Import General Ledger into the QuickBooks Desktop using Excel Sheet:
You have to open QuickBooks and then proceed to import data with the help of an Excel Sheet. Let’s delve into the below steps to import General Ledger transactions into QuickBooks Desktop:
🔷 First of all login into the QuickBooks account
🔷 Click the Gear icon; it should appear on the top right
🔷 Choose the Import Data tab and give a click on it
🔷 Next, Hit the button named Accounts
🔷 You can search the excel sheet and then upload it to the QuickBooks
🔷 Once you upload the Excel Sheet then General Ledger proceeds to import it into the account.
Read Also-: How to Fix Small Open Balances or Credits in QuickBooks
Method 2: Use QB Import Excel & CSV Toolkit to Import General Ledger:
In this, you need to install the QuickBooks import, CSV, and Excel toolkit. This will let you import the transaction list simply in CSV format. This process cannot be reversed. Make sure you took a backup of the QuickBooks. Following is the list of steps to import GL into QuickBooks Desktop using QB import Excel & CSV toolkit from Excel:
🔷 After you install QuickBooks Desktop import Excel & CSV toolkit on the system then save the file
🔷 Now double click on the link “QuickBooks_Import_Excel_and_CSV.exe” to open the file
🔷 It will help in launching the screen named WinZip Self-Extractor”
🔷 Hit Browse tab
🔷 Next, choose the folder where you need to install the toolkit
🔷 Click Ok tab
🔷 After this give a click on the option named unzip
🔷 It will display the contents
🔷 Choose the button which says Close
🔷 It will close the screen labeled WinZip Self-Extractor
🔷 Now launch the folder named QuickBooks import Excel & CSV by choosing the location you selected before
Conclusion:
Here the article completes! Now you can import GL transactions and lists in several types of file formats using MS Excel. To explore more you can get connected to the professional team.

💠 Frequently Asked Questions 💠
How would I Create the GL Export File?
▪ Hit Report button
▪ Click Payroll Reports
▪ Locate the main menu
▪ Choose General Ledger Summary
▪ Click on the template type, section, pay period schedule, and period to export
▪ Hit the View tab in the button bar to check the prior report
▪ Select Export tab drop-down on the right corner of the button
▪ Choose the format that matches the accounting system
How to Import the Transactions into QuickBooks?
▪ Choose File
▪ Click Utilities and then click import
▪ Select IIF tab
▪ Choose the.IIF file and then hit the open tab to import the data
How would I View the Import Report in QuickBooks?
▪ Hit Reports
▪ Click Accountant & taxes and then hit Transaction detail by Account
▪ Choose the date in which data was imported, sort by Default and Total by Account List
What if I Need to Map General Ledger for QuickBooks?
▪ Hit Report and then choose Payroll Reports
▪ Select General Ledger summary
▪ Click on the Worksheet for General Ledger Mapping in the template field
▪ Hit View drop-down
▪ Choose the Excel tab to download the file
▪ Click Worksheet for GL mapping
▪ Enter in the credit account & debit account on the worksheet with the account names of the ledger
▪ After you enter details in the General Ledger Mapping Worksheet
▪ Embed the debit & credit columns to ensure the total balance
▪ Click on save
▪ Hit Payroll and then choose “Paystub accounts”
▪ Choose and then edit paystub account through the account name using the Debit Account & credit Account columns
▪ Check the Summary report to check the names have been mapped correctly.


